ThingLink is a superb App. In a nutshell, you take a picture of something and add text and media to it. It is currently only available on the App Store.
How do I use ThingLink?
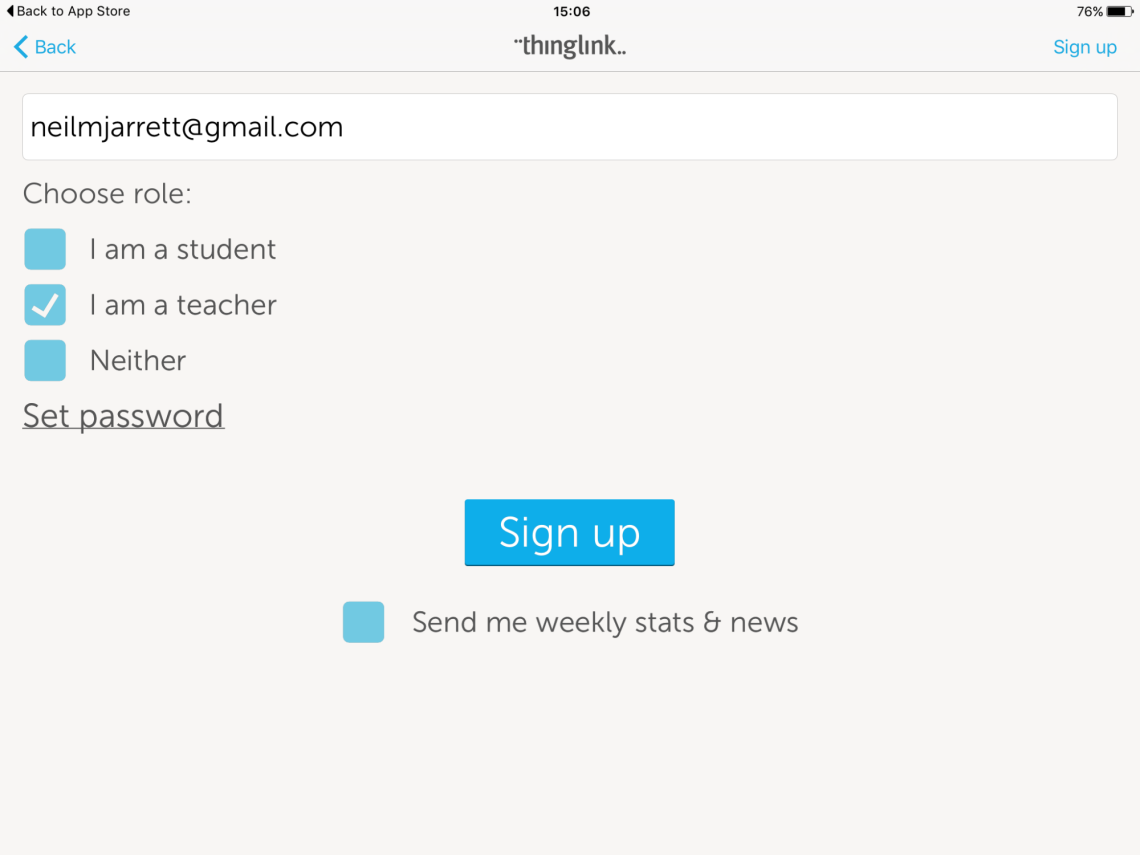
Open the App and sign up with your email. Say you don’t have an invite code.
Next tick the teacher box and sign up (you can set a password if you wish).
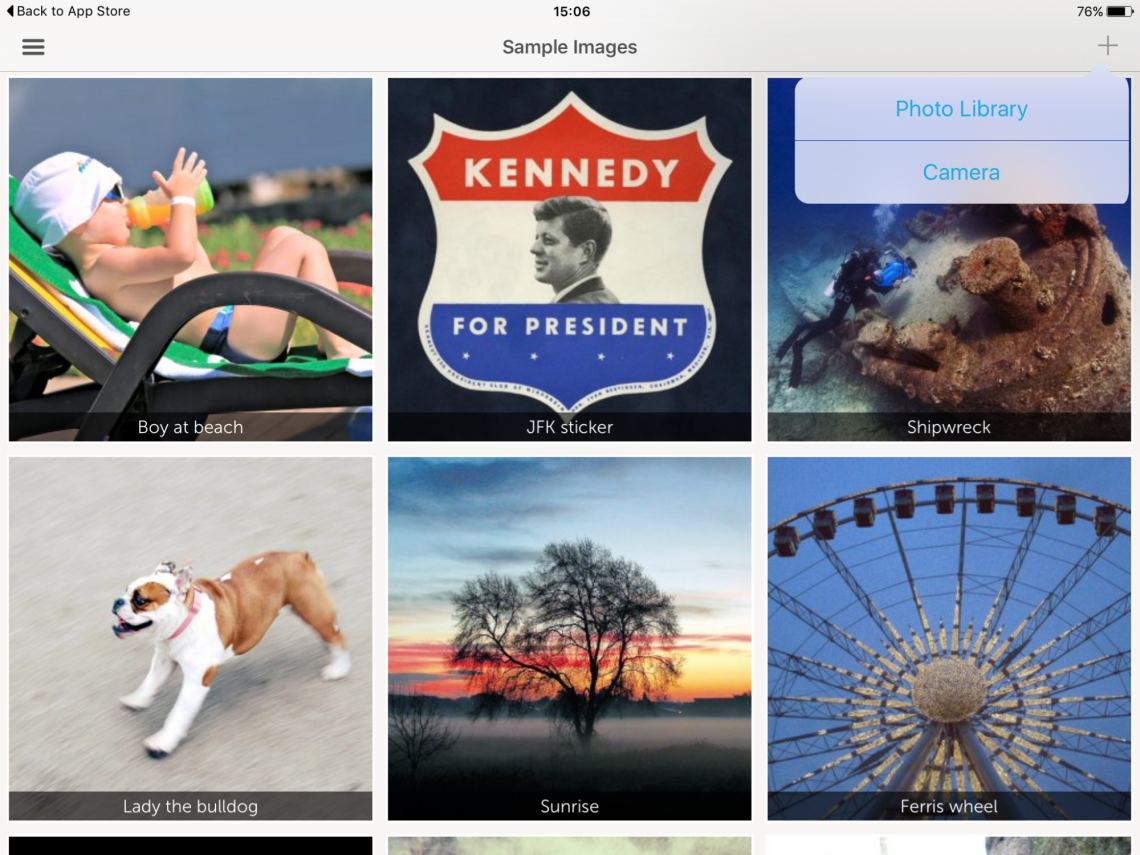
And you’re set to go! Look at some example ThingLinks’ as shown below. Then when you are ready to create your own, click the + in the top right corner.
First take a photo or choose an image from your gallery (you can use images from the internet if you want). In a Science lesson, I asked my students to draw series and parallel circuits and then take a photo of them.
After, simply press on the picture and either add text or media.
Adding media is great; choose videos, photos, or YouTube clips.
I asked my students to record a ‘selfie’ video explanation and add it. They also had to include a YouTube clip.
The videos look like they are coming out of the page – superb interactivity.
Save when you are finished and then preview; you can touch the targets and they come to life!
It’s great to share your ThingLinks with the class.
* Check out my video tutorial on YouTube:
How else could ThingLink be used in the classroom? Let me know!


